Leaderboard
.thumb.jpg.f3cd5ec0a1803457d0dc9bd21eff8f08.jpg)
Popular Content
Showing content with the highest reputation since 03/03/2020 in Image Comments
-
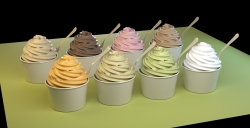 Cerbera: at first I thought I could just sweep a star spline primitive over a helix spline. But that was unconvincing, and did not look like the ice cream photos I was looking at on Google Images. And the Star spline primitive wasn't quite right, either, because its "teeth" weren't acute enough at their tips. My final solution was to create a special star shape in Illustrator... merge it into C4D, then extrude it into a long pipe shape. Then I used a "Twist" deformer to twist the long star/pipe shape along its length. This was key, I observed, because the real-life ice cream swirls get twisted AS they distribute the ice cream into a pile. From there I used the Spline Wrap deformer to bend that twisted pipe into a spiral shape using the Helix as my spline. That basically worked, but was too sharp-edged. So exactly as you observed, I ran it all through the Volume Builder to soften the overall look and let the "ice cream' sort of melt into itself at various junctures. From there I just tried to make my Material include all the little qualities of a semi-frozen milk-based product... lots of SSS, AO used to make tonal variations, and my attempt to make the surface "sparkle" a little bit to represent frozen crystals. There is a frozen yogurt store in my town... and these 8 flavors are the ones they serve. vanilla, chocolate, strawberry, coffee, mango, banana, green apple and unflavored.3 points
 -
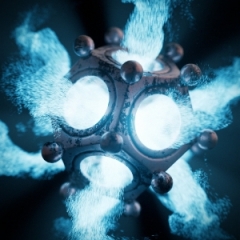
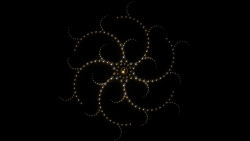
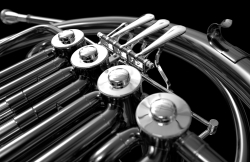
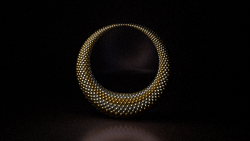 @CerberaMy hardware is very low specs and my patience for long renders also low But for this particular render (more than a year old) I think I had set a very blurry reflective floor and background, so no matter the settings there would always be a grain. Somehow the grain for this particular render gives me the impression of a more realistic depiction reminiscent of old photographs and that effect gets more justified with the low lighting giving the center object a more jewel-like character on display which I wasn't intended for but rather intended for an abstract object.2 points
 -
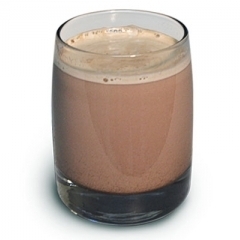
 Very discouraging for two reasons: 1) I will never have this much talent in modeling, texturing, composition and lighting (the lighting is as delicious as the chocolate). Just amazing overall and in every way. 2) I am on a diet. Thank you for ruining my weekend.2 points
 -
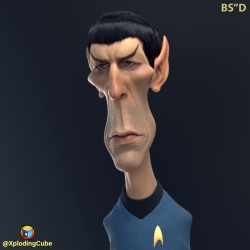
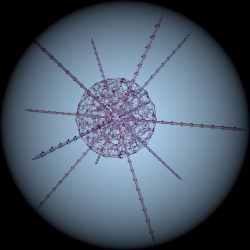 It looks like Corona virus variant M98845-B soon to break onto the scene in 2027. Symptoms are redness around the earlobes and a strong desire for shish kabob. I love the shape though!!!1 point
 -
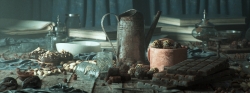
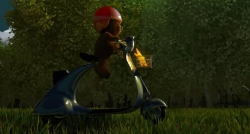
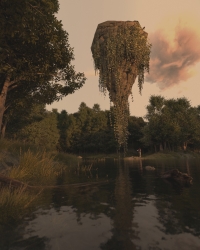
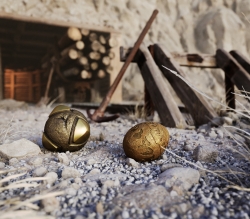 These are 2 items from the Playstation 2 games Jak & Daxter. Played the games when I was a kid and there still a lot of fans out there. I've made these in Zbrush and printed them, sold them to a bunch of people. Since I don't have any space for my resin printer at the moment I thought I would create a nice scene for them.1 point
 -
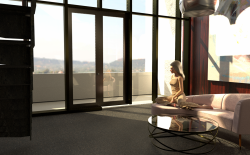
 Looks nice, but too bright scene as whole for me1 point
 -
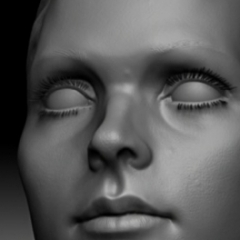
 I think those hair detail is what makes this disgusting for me1 point
 -
 Thanks she’s pretty cool1 point
 -
This is great, was always a big fan of her in super smash. Awesome job1 point
-
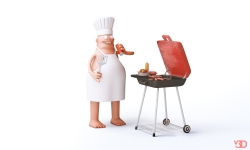
 Omelet Du Fromage. Most legendary episode ever haha Nice work, Love the subsurface scattering on the shoes and ears!1 point
 -
Ha! Me and my gf are 33 too and she still loves Pokémon1 point
-
 Great! DId you animate it? If Yes, I will be happy to get a look1 point
 -
For a 33 year old still playing Pokemon Go I like this way too much haha. Nice work mate1 point
-
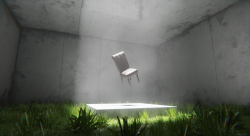
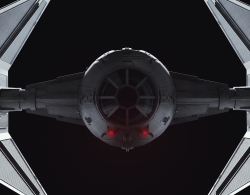
 I guess it is important to always know your orientation in "space". I love the humor of it as well as the modeling, and lighting (great highlights and replicating harsh sunlight in space). Dave1 point
 -
 cool scene1 point
 -
 Very Nice!!!1 point
 -
 Excellent work !1 point
 -
 Thanks so much. Coming from you, it is an especial compliment.1 point
 -
 Beautiful!!! I would love to see you incorporate this into a developed scene.1 point
 -
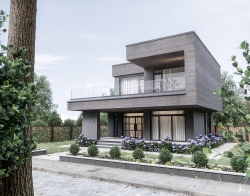
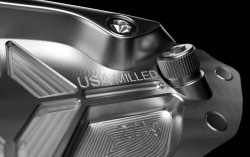
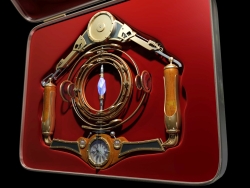 Nice machine, and lovely case work ! Hope you're gonna put the wires up somewhere !1 point
 -
 Yeah, really REALLY good Lovely stuff !1 point
 -
Wow, really great work! I like the blend between cartoony and realistic!1 point
-
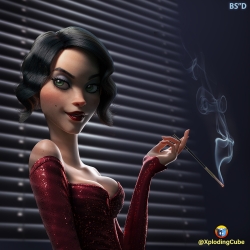 A B&W version of this would look good too.1 point
 -
 Great work!1 point
 -
 The lighting here is really great .1 point
 -
 Very cool character with a modern steel bolt helmet1 point
 -
Lovely job1 point
-
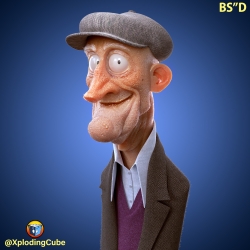
 Thanks so much for the kind words. For most of the objects, basic box modeling techniques were enough to get the job done. For more complex objects, like the head, it was a back-and-forth between box modeling tools, to block out the basic model and refine it's topology, and then the sculpting tools to refine the shapes organically, and smooth out the topology. The Cloth Surface generator (Cloth Nurbs) was used for the collar, jacket, waist coat, cuffs, hair ribbon, etc. to add thickness to these objects and avoid modeling two sides of the geo. Thanks again for your kind words .1 point
 -
What type of modeling technique did you use to make it? I looks amazing!1 point
-
 Awesome modelling skills.1 point
 -
 Very cool1 point
 -
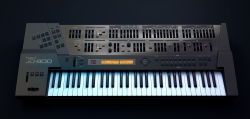 You might want to add that one to your wireframe section of images in the topology album, or whatever it was called. It could be a really good resource for people trying to model a keyboard or something electronic with panels and details, using SDS. That's what piqued my interest in this model in particular (especially to see how you handled the diagonal parts intersecting with the horiz/vert topology).1 point
 -
 Sexy mesh!1 point
 -
 Really, really lovely. Love the painterly quality of the colors.1 point
 -
 Nice Mesh!1 point
 -
Thanks! Took the amount of my own gags as a gauge for how disgusting it is. Seems like it worked1 point
-
I hope that's a cancer cell or a coronavirus or something, because I want it to DIE! Nice work making it look super creepy and gross!1 point
-
1 point
-
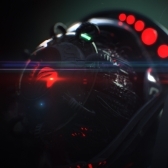
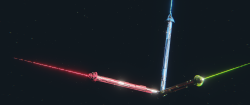
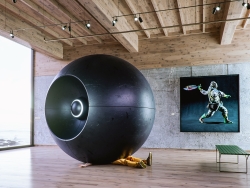 Love this! ... The spacefarer threw a fish towards a black hole and got hit by this black ball in return?1 point
 -
 What render engine did you use?1 point
 -
 I've really enjoyed looking at these - a top quality job from both of you! PS: It would also be interesting to see the wireframe (mesh) for one or two.1 point
 -
 Wonderful....simply wonderful....and I thought your meshes were beautiful! Tremendous lighting and texturing. Dave1 point
 -
 I'm getting hungry! Cool!1 point
 -
 Impressed!1 point