

marmalade
-
Posts
204 -
Joined
-
Last visited
Content Type
Profiles
Blogs
Forums
Gallery
Pipeline Tools
3D Wiki
Plugin List
Store
Downloads
Posts posted by marmalade
-
-
I have a rigged character which has been binded. How can I move one of the joints or delete one etc?
0 -
16 hours ago, Cerbera said:
Ok, well that'll be why it didn't work then - you don't have new unified rope dynamics...
But I have modified the scene, and adjusted force values to use the original rope solver, which might make this work with versions before R25.
Give this one a go and let me know if it works. I can't test it in R21 myself as I don't have it installed anymore...
CBR
thanks very much that one works
0 -
23 hours ago, Mash said:
what version of c4d are you using?
R21
0 -
23 hours ago, Cerbera said:
thanks but didnt work. It just fell down. also i got a message saying several plugins missing
spline swing CBR.c4d 359.12 kB · 1 download
CBR
0 -
I have attached a file. Its hair following a spline like a rope or a braid. How can I make it swing as if attached at the top?
0 -
4 hours ago, Cerbera said:
Like nearly all questions on this site, we could do with the scene file so it is clear what your setup and circumstances are, so that nothing is left ambiguous, and we are not left guessing what you want...
CBR
It's really not that difficult to understand. It's a helix shaped like a spring. It has spline dynamic tag and I want to attach to a sphere above with the constraint that so it swings. That's it. Pretty simple you'd think but like everything in c4d it just becomes a ridiculous time sucking frustrating exercise in futility which is like banging my head up a wall for days on end until I give up because I don't get anywhere. All I can say is I'm glad I stopped giving maxon money at R21. Ill upload a file later.
0 -
18 hours ago, srek said:
You have two options. Either add a bitmap into your existing material and treat the to be painted texture as one of the layers of your material, or layer a second material over your existing material and paint in that. Your idea of just painting doesn't work because you need a bitmap to paint on.
Ok. How do I add a bitmap? I tried the layering another material but it changes the look of my original material so it doesn't work.
0 -
8 hours ago, Cerbera said:
Have you ever seen a rope in real life do what you are wanting; hold its shape whilst only supported at one end ? That'll be why you can't do it with rope simulation - the thing you want is fundamentally opposed to the defining behaviour of the system you are trying to make do it ! So the short answer to your question is 'no'; ropes are floppy and that is what that system is trying to achieve !
It sounds like you want the 'rope' helix to be a rigid body, so why not use the bullet system instead ?
helix RBD.c4d 353.13 kB · 4 downloads
CBR
Yes I have. I think you’re misunderstanding me. When I say unravel I mean the actual twine unravelling. Not the rope coil. My rope is made from hair object twisted around three splines. Imagine a short piece of rope attached and swinging .
0 -
11 hours ago, Cerbera said:
Are you remembering to set initial state after you have done the dressing ?
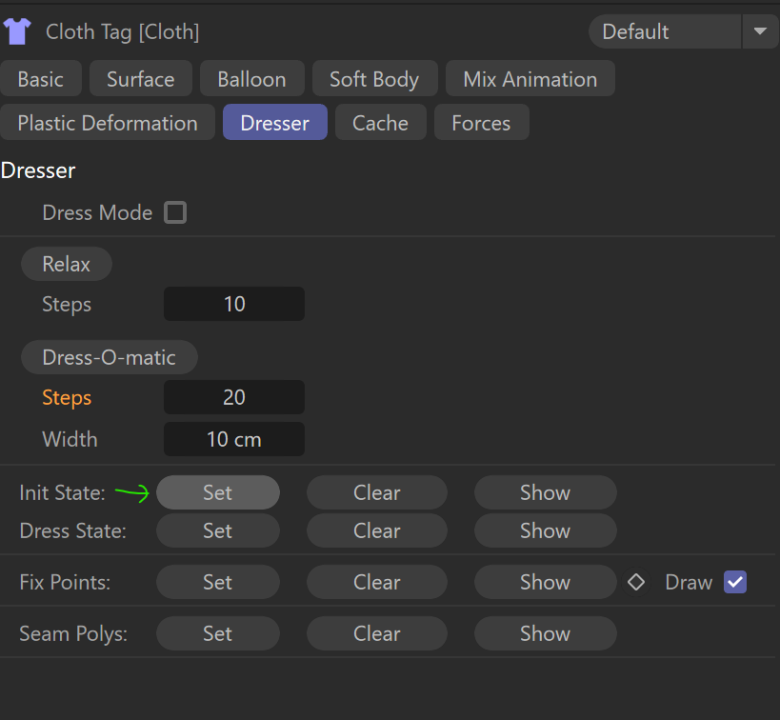
In other words - has the cloth sim icon in the OM gone back from white to purple, which tells you it is out of dresser mode ?
CBR
yes. Initialise state doesn’t attach the clothes to the character though. If you move it they stay there. You also can’t cloth belt them. Cloth belt seems to be more for flags or ropes , washing on a line etc. Might work for a cape. I discovered last night after hours of searching that using a surface object works except then the cloth dynamic no longer works and so the fabric doesn’t move. So this is not a good option either. I made the surface a child of the clothing then the character is the target. I haven’t started animating the character yet so pretty sure I’ll run into problems as soon as I do. Takes me so long to learn such basics. Been using C4D on and off for years now and still feel like a total noob.0 -
Been trying to figure out how to get the cloth belt to work with clothes that are dressomatic on my character? if I use dressomatic then cloth belt it to my character and animate the character the cloth goes haywire. Works fine without dressomatic. Cant find any specific info how to do this anywhere. The only way i seem to be able to move clothes that are dressomatic is if I baked them first.
0 -
I have a helix with spline dynamics tag and its contrained to a null. I just want it to swing a bit but instead its unravelling. Is there a way to stop it stretching down and unravelling? I tried fiddling with the gravity parameter but doesnt make any difference.
0 -
17 hours ago, srek said:
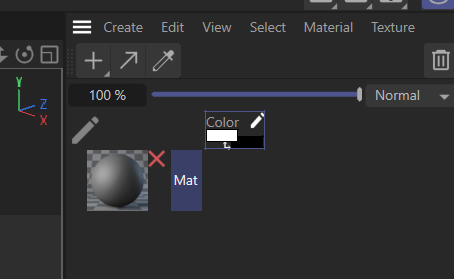
Create an object.
Create a material.
Choose Create New Texture from the Color slots context menu.
Apply the material to the object.
Switch to Paint layout
Open Material Manager
Click on the red cross to enable painting
Paint
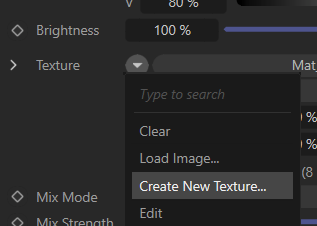
Thanks for this explanation but that doesnt quite do what I want.
Ive already created a skin material with multiple shaders etc. I want to paint on that. If I go to colour and create texture I have to choose a a color and it puts that over the top of my already created texture which I dont want. If I choose transparent then the whole thing is transparent.
0 -
On 8/13/2023 at 9:21 PM, Jeff H1 said:
I can't tell if it works correctly with Octane but with Redshift, you just use the Paint WIzard and select your material.
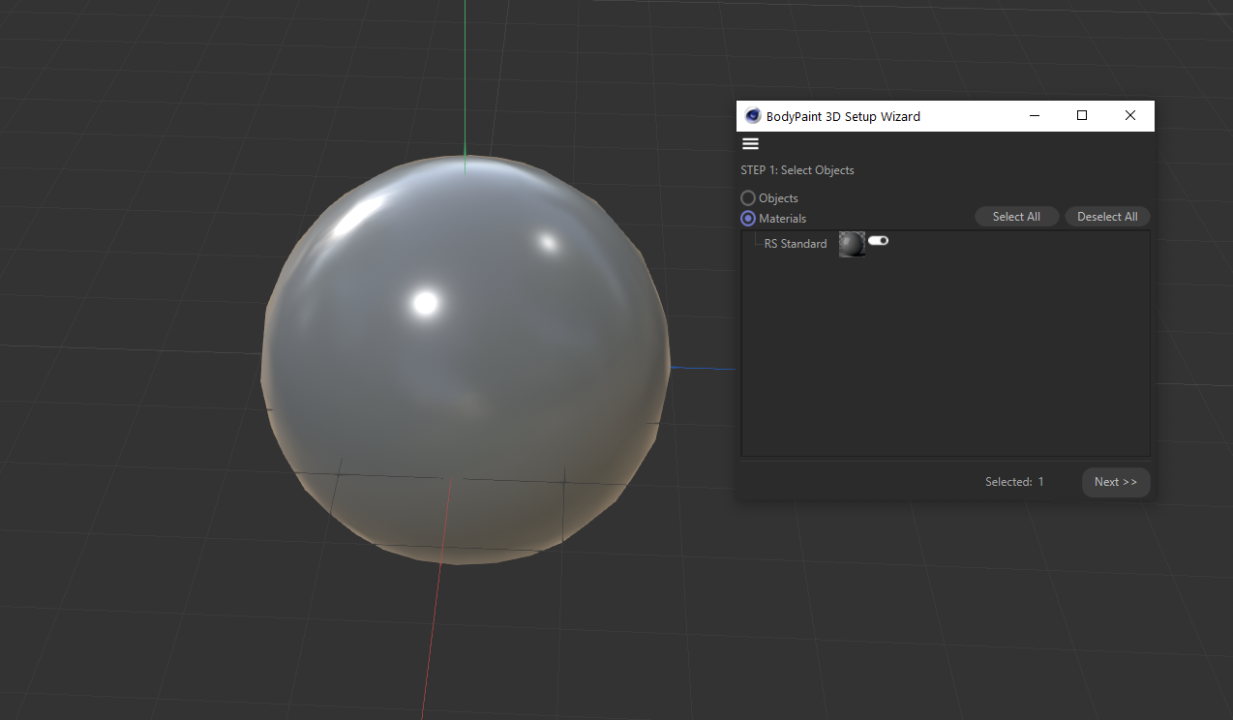
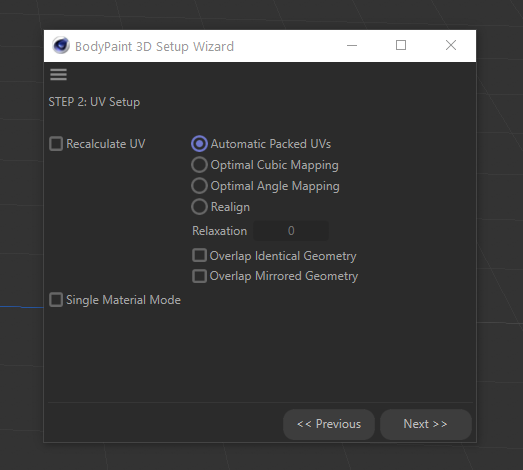

The last thing you need to do is to make sure you save the texture.
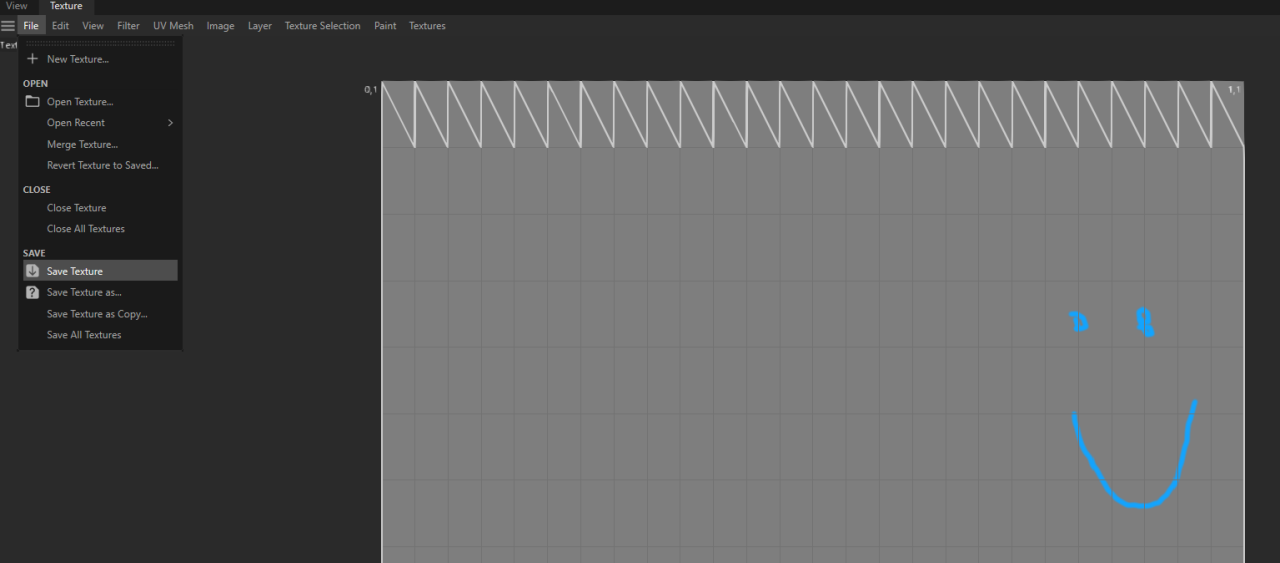
Realistically, if it's a problem using your own materials, let Bodypaint create a default for you, paint on it, save the texture to a file and drag that texture back into your material.
15 hours ago, srek said:The wizard is there to start you up with a new material to paint on. Don't use the wizard if you want to paint on an existing bitmap in an existing material.
I can't figure out how. Haven't been able to find any specific instructions or video anywhere
0 -
12 hours ago, bezo said:
Not sure if skin material is procedural or standard texture, but can not be used simply another layer for color texture?
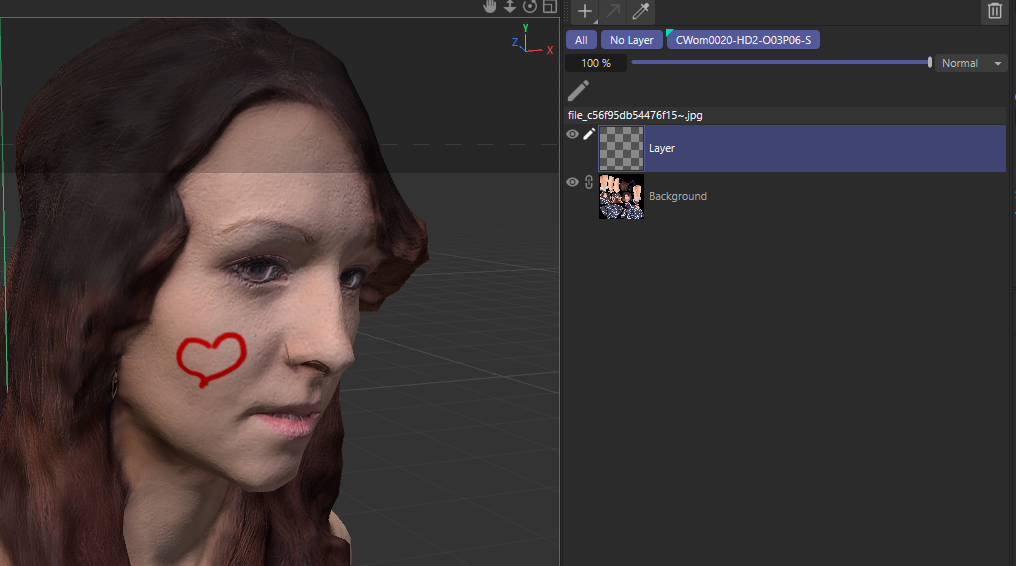
Once I use the wizard the skin material gets changed to a default material. Not sure what procedural means? Its a skin material I made using various layer shaders, noise, gradients, bump etc. I can only seem to paint on background or new layers but I dont want the grey default as the background. So what I need to know is how to change the background layer to my own material?
12 hours ago, Jeff H1 said:Couldn't you also select the Background texture in the dropdown to paint on top of it?

Thaks but I dont use external renderer.
0 -
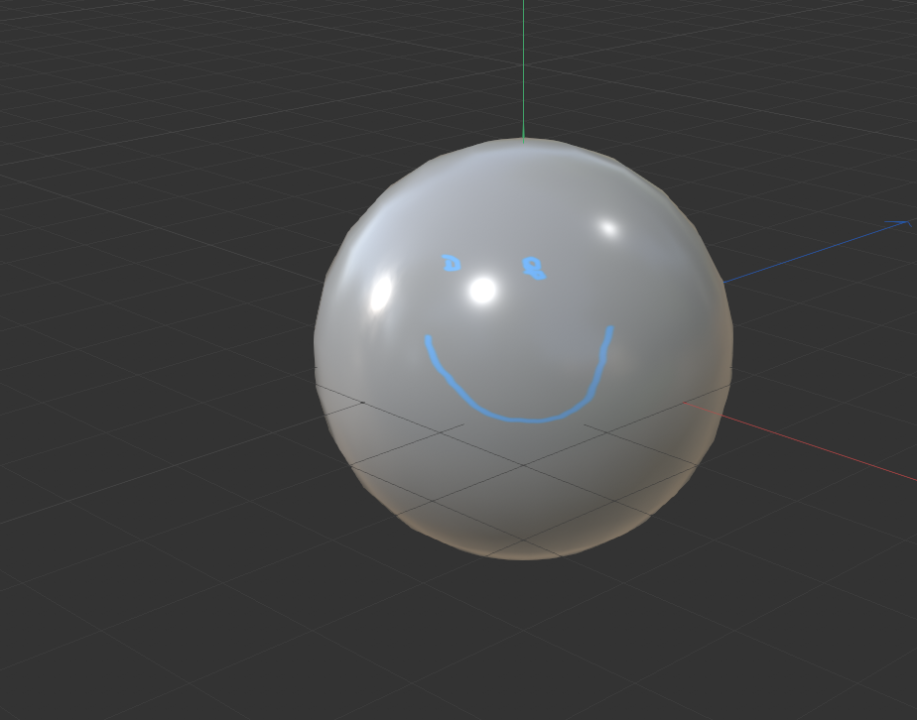
I’m trying to paint a few simple freckles etc on my characters face. I have made a skin material and I want to paint on top of it. When I open body paint I recalculate with the wizard and then it creates a default material which replaces my original skin material and then it lets me paint. However I don’t want this default. How do I keep my own material and paint over it? I tried dragging it onto my object but the paintbrush then becomes disabled.
0 -
When using the add guides tool with hair how do i increase the amount of hair? Theres a setting for amount of guides only. The setting in the hair object doesnt seem to effect the amount of hairs when making the hair manually with add guides tool.
0 -
12 hours ago, Cerbera said:
You can either or apply 1, some or all levels of the subdivision and UV the resulting mesh, OR do the more common, and often simpler thing, which is to UV the base mesh.
The SDS object has UV subdivide modes (edge / border etc) that should result in practically no distortion* if your base meshes overall shape roughly matches the SDS result. However, in cases where you are working really VERY low poly, and relying mostly on SDS to generate the primary silhouette / form of your mesh then it is sensible to apply a couple of levels of that subdivision to the mesh before you UV it to minimize the SDS distortion that would probably result otherwise.
CBR
* This does not apply to OpenSubDiv, which has a long-standing bug I report every year, meaning that it is simply impossible to get SDS distortion-free mapping with that mode of SDS, so make sure you stick to Catmull Clark !
Ok great thanks. That's very helpful
0 -
I have my model inside a subdivision object and I want to unwrap for texturing. Do I make editable with the subdivision included before unwrapping or do I unwrap without the subdivision?
I been trying search for the correct info about this and watched several videos but I'm still not clear. One particular video he turned off the subdivision first and unwrapped the basic topology but I was thinking wouldn't it be hard to paint accurately like that as once you put back in the subdivision things move around a bit. Or am I it seeing this incorrectly?
0 -
I'm just wondering if I want to paint my model inside of C4D do I still need to UV unwrap or is that only for exporting to a different programme?
0 -
14 hours ago, Mash said:
Default hair objects have 50,000 hairs. You have so much hair you cant see the gaps. just reduce it down to 100 or so.
Ah K thanks
11 hours ago, Cerbera said:Also, hair greatly benefits from a few omni or area lights in the scene and tends to look fairly horrendous under default lighting until you sort that out.
CBR
Thank you for help
0 -
Im trying to make some eyelashes along a spline. Ive tried changing the type and thickness but just looks the same in render like a solid brown thing. Can someone please tell me what Im missing here. pic attached
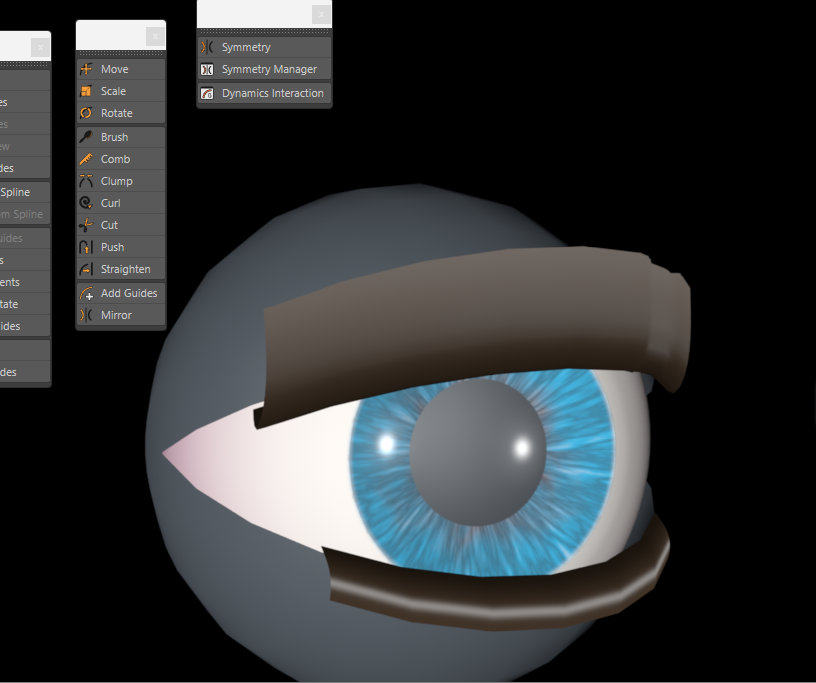 0
0 -
20 hours ago, Cerbera said:
You haven't given us enough information to reasonably speculate, not even the version you are using, or any information about the scene in question.
Poly Pen is notably very reliable in recent versions, and problems with auto-weld are pretty much limited to very small scale scenes these days.
It is possible that any tool can experience a 'quantum weirdness' where it suddenly stops working predictably, and those are almost always solved with a restart of the program. If that doesn't work for you pls provide the scene file so we have something to investigate.
CBR
So i realised that I needed to drag an edge and it works fine. I was clicking points and trying to draw the next poly that way. Not sure if both ways should work but for me drawing with points when reprojecting doesn’t work.
0 -
Hey, I’m retopologising a sculpt and I’m having issues with the poly pen. Wondering if it’s a setting or if I’m doing something wrong. I have set to reproject result and auto weld but it’s not welding most of the points and I’m having to go back over and manually weld them. Also sometimes it just makes a triangle so I have to switch to edge extrude then switch back to points and weld. As you can imagine this is taking me forever. Retopologising takes a long time as it is but this is making it painfully slow. Any idea why the auto weld doesn’t work correctly when reprojecting?
0 -
I have a rectangle plank and its in a cloner making a the wall of a cabin. when I put my texture on its the same on every clone so it doesnt look good. Is there a way to adjust the offset and tiling etc for each individual clone?
0


rigging issue
in Cinema 4D
Posted
I have a character that Ive rigged and when I move the poles into position so that the legs bend correctly etc the mesh gets all twisted and messed up. This is my third attempt. I cant understand why it happens. can anyone please suggest something