Digital Dave
-
Posts
94 -
Joined
-
Last visited
-
Days Won
4
Content Type
Profiles
Blogs
Forums
Gallery
Pipeline Tools
3D Wiki
Plugin List
Store
Downloads
Everything posted by Digital Dave
-

Thread for reporting/resolving issues with C4D S26
Digital Dave replied to HappyPolygon's topic in Discussions
Thanks for the effort, I totally understand there's so many variables that could factor into this. My main concern is that when c4d actually crashes, I'm not able to re-open the program and have to restart my whole system - which as you can imagine is quite an inconvenience. I been able to subdue the crashes by taking precautions, such as waiting for the RS material previews to load before popping out windows etc... I tried the studio driver in the hopes it would be more stable, but will revert back to the game ready drivers (my usual choice) for the reasons you mentioned. Cheers, Dave -
Thread for reporting/resolving issues with C4D S26
Digital Dave replied to HappyPolygon's topic in Discussions
Hey guys, Getting a lot of crashes with s26. one specific action that forces a crash is trying to create a new attribute manager whilst having the node editor open. When I try to reboot C4D I get the s26 splash screen but it quickly disappears again and nothing else happens. Whilst I'm trying to reboot c4d, the task manager shows 'Cinema 4D' in the background processes but then quickly goes away (when the splash screen disappears). 2022-05-02 08-48-36-1.m4v I've also noticed that once the initial C4D crash happens, other programs such as After Effects crash on startup as well so I think it might be something hardware/GPU related that the first C4D crash triggers. I've tried multiple game ready drivers and am currently running the latest Nvidia Studio drivers but the issue still remains. I'd really appreciate any insight into what the issues might be, whether hardware or software related. I've uploaded the bug report file in the hopes it might be useful. _BugReport.txt Cheers, Dave -
I think that would solve the issue, do you know how to open a second attribute manager? If I undock the current default one (bottom right of interface) and place it inside the node editor, it works but obviously all my other attributes for my scene are now inside the node editor as well
-
Oh I thought the new standard material was locked to the new node system, thanks for clarifying that it works with the xpresso interface. This pretty much solves all my questions for now 🙂
-
Gotcha, I do recall Rick saying something along those lines during his stream with Chris Schmidt. I've tried using the new node system but I just like the xpresso ui for it's simplicity, compact nodes and the ability to actually control the respective attributes in the same window - really hard to live without this using the new nodes. That render you posted before looks great, you said you used it as a test for the new redshift standard material but since the new nodes don't support c4d shaders did you create that radial gradient externally in AE or something similar?
-
Thanks for asking, I love the speed of Redshift and my current scene is already built with Redshift lights & Materials. It's awesomel that Physical has that built in but I'd rather put in a small bit of work for the cymbals rather than have to deal with my entire scene previewing/rendering at the abysmal speeds of Physical.
-
Love it! those small bump normals look excellent! I'm on RS 3.5 and am trying to follow your steps using the new standard material, but can't seem to get the c4d shader node to appear in the new node material graph. I'm still able to add the node when using the legacy xpresso interface, how did you tackle this with the new standard material?
-
Absolute legend! You definitely nailed the look I'm after. I'm going to pull it apart and create it from scratch by following your tips, thanks Mike 🙂
-
Cheers, there's definitely a lot more to it than meets the eye, I might follow John's Substance tut, he's a super knowledgeable guy. As a drummer myself I do appreciate the skip joke 😆
-
Hey guys, I'm creating some drum cymbals in Redshift and am wondering how to create a material that looks like these, particularly those highly stretched reflections that look like they lead out of the centre. Mine are looking like this, I've cranked the metalness to 1 and added a bright yellow to both the diffuse and reflectivity but it's not looking right.
-
This is awesome! I definitely want to learn Xpresso, it's super powerful. Have you got any tutorials/courses you'd recommend for learning Xpresso?
-
Hey guys, Can't seem to wrap my head around how to create an infinite floor with reflections. I'm following these steps: 1. Place sphere into scene 2. Adding a disc for a floor. 3. Adding a dome light with a HDRI with background enabled. 4. Redshift object tag on the disc with these settings - Which gives me the following result: The presence of a shadow is great, but I want the sphere to be reflected by the floor (hdri is just a placeholder, obviously grass ain't reflective) So I then increase the reflection scale in the redshift object which doesn't do anything on it's own, so I add a default redshift material onto the plane. This gives me reflections but the floor appears to be reflecting the hdri itself, not just the sphere - giving me an obvious border where the disc geo is: Does anyone know how to do this properly? I've tried following multiple tutorials but all of them seem to have no issues with the background reflecting like this. Might be something different with the latest versions of redshift? Cheers, Dave
-
Hey Guys, just finished up a 3D animation inspired by my favourite racing game, Forza Horizon 2.
-
Cheers kind sir, It was my year 12 major work which I completed in 2019, I was just using a 2012 mac that I had when I was a kid. I have been dabbling in film/3d since I was around 10, so that helped build a solid foundation. I finish Uni in 2022 and will look for an internship/junior position around Sydney, since that's where I'm located. Unfortunately no Corridor Digital here 😞
-
Cheers, I knew for those closeups that I'd need to have live action for it to be believable, the CGI photoscan I had works well for wide shots but falls apart upon closer inspection. Yeah it's handy having 3 brothers to act as a film crew, considering they were stuck at home during lock down they may as well do something 🙂 Haha my parents are actually mentioned in the first film before this one, which was my high school major work: I created the previous film on a 2012 mac mini, and I've learnt so much since then but check it out if you're interested! Cheers that'd be the dream, and in regards to the Newton's Cradle - it's set in the future so maybe there's some magnet tech that keeps it running endlessly?
-
It's such an immersive game! Thanks very much, appreciate it!!
-
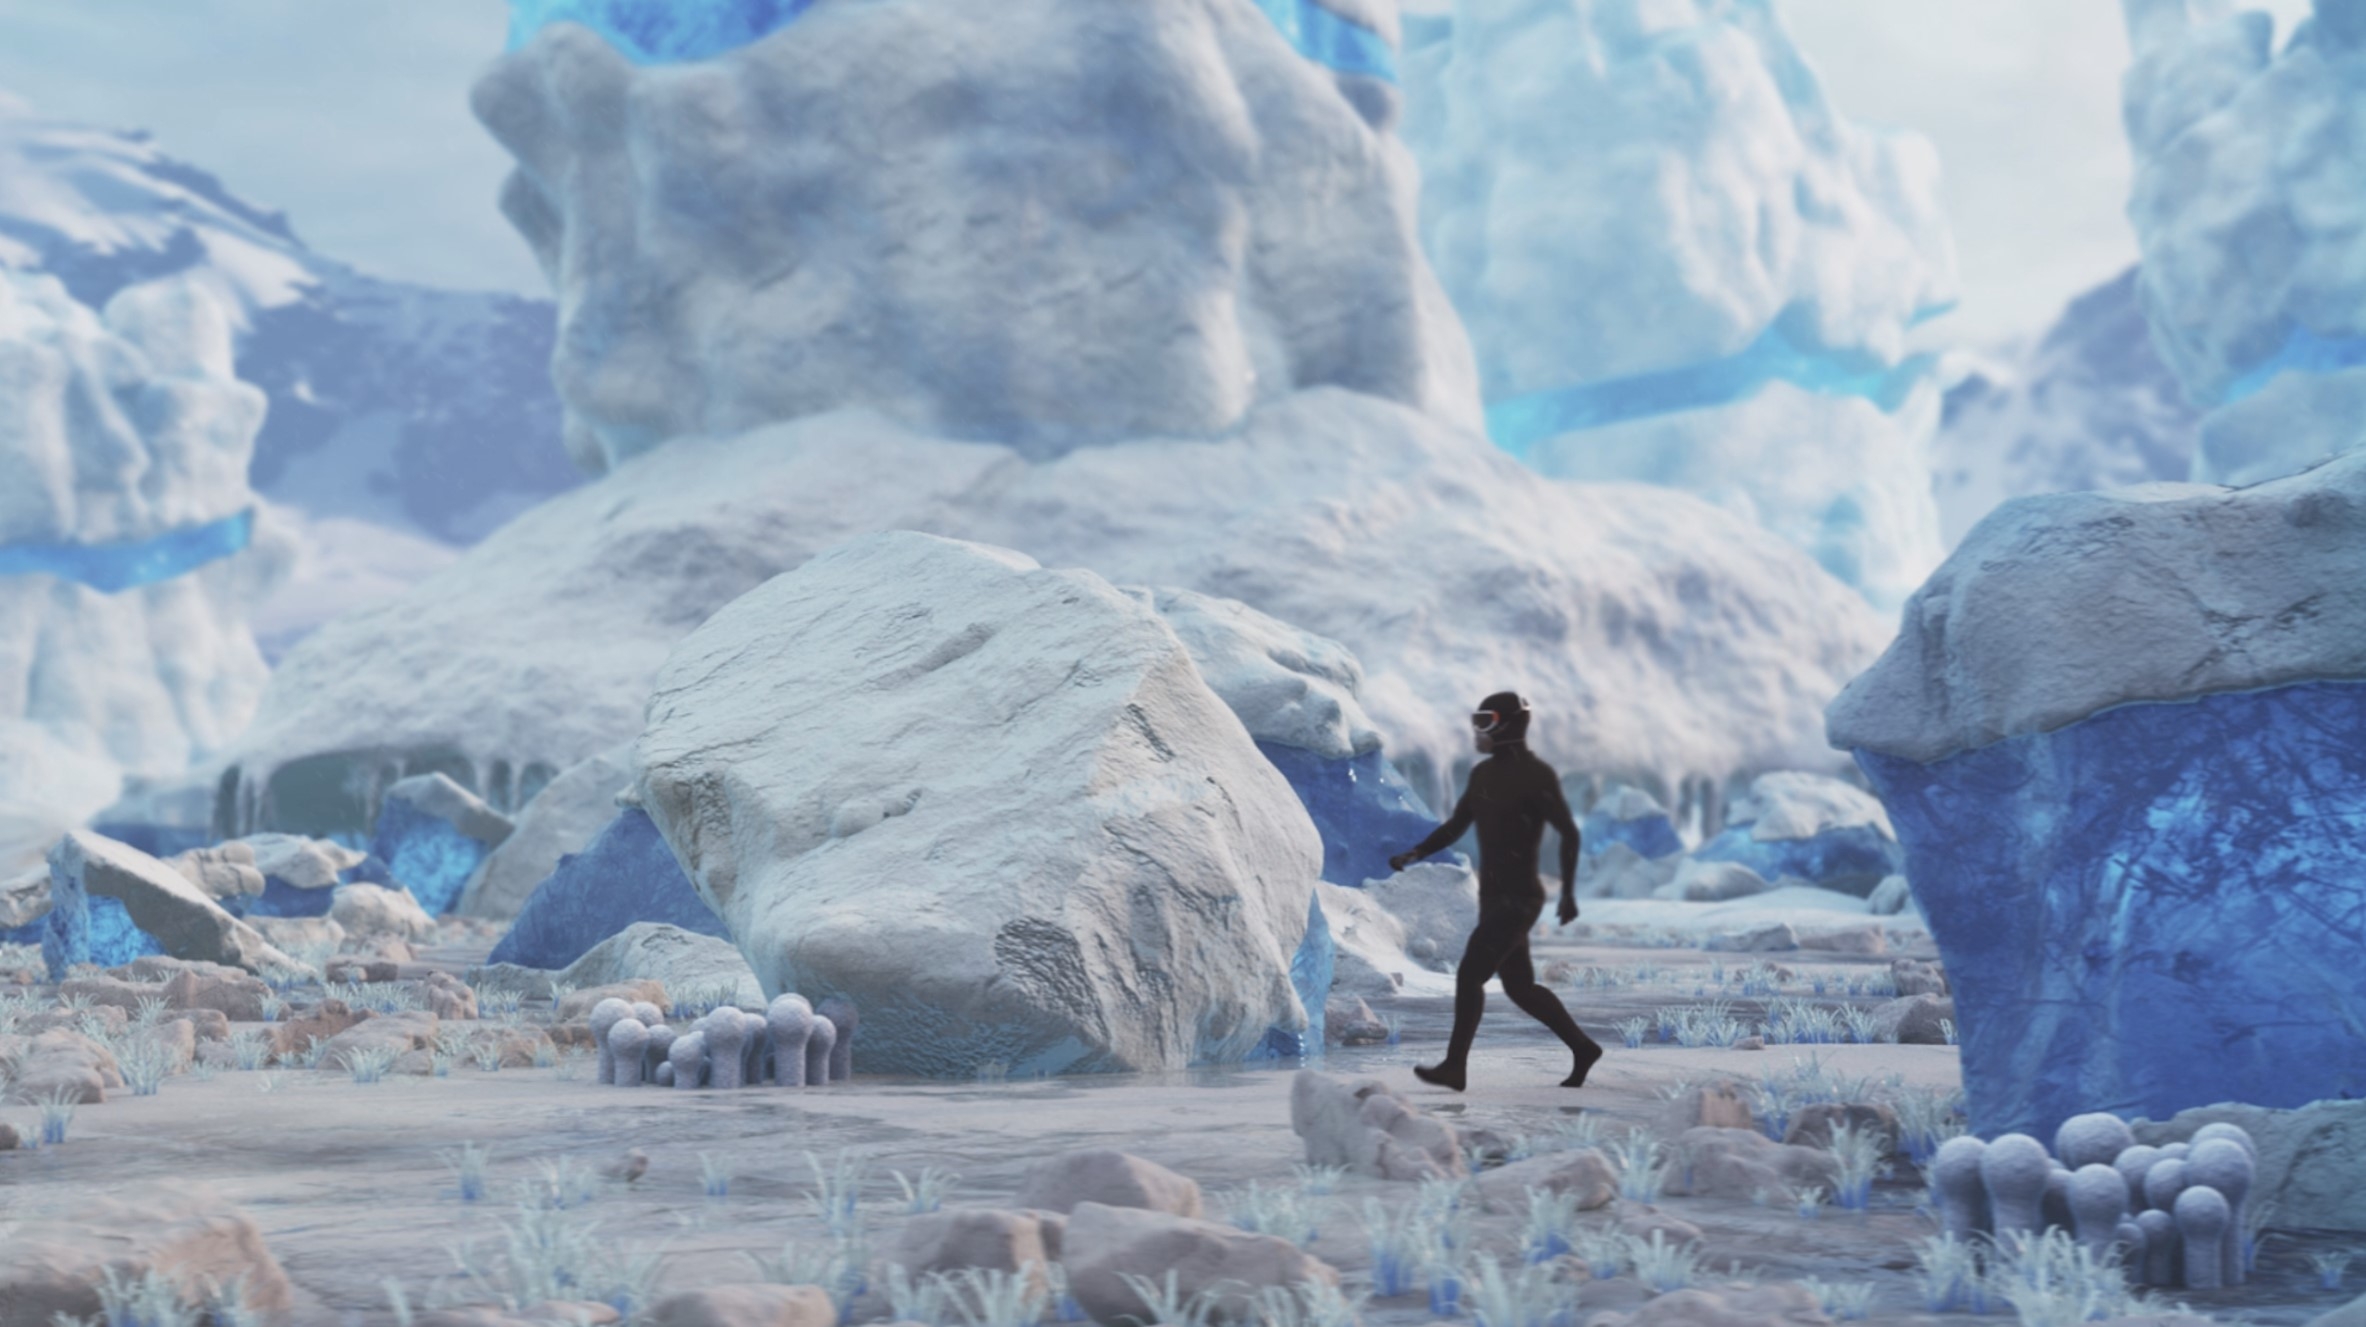
I used C4D to create a fan film based off the game 'Subnautica' - Super fun project that took about 2 years to finish. Rendered with Arnold/Redshift
-
would love the ability to view only selected uv polys in the uv editor, or hide uv polys without also hiding parts of the mesh in the viewport.