
EAlexander
-
Posts
1,043 -
Joined
-
Last visited
-
Days Won
28
Content Type
Profiles
Blogs
Forums
Gallery
Pipeline Tools
3D Wiki
Plugin List
Store
Downloads
Everything posted by EAlexander
-
Really nice work!
-
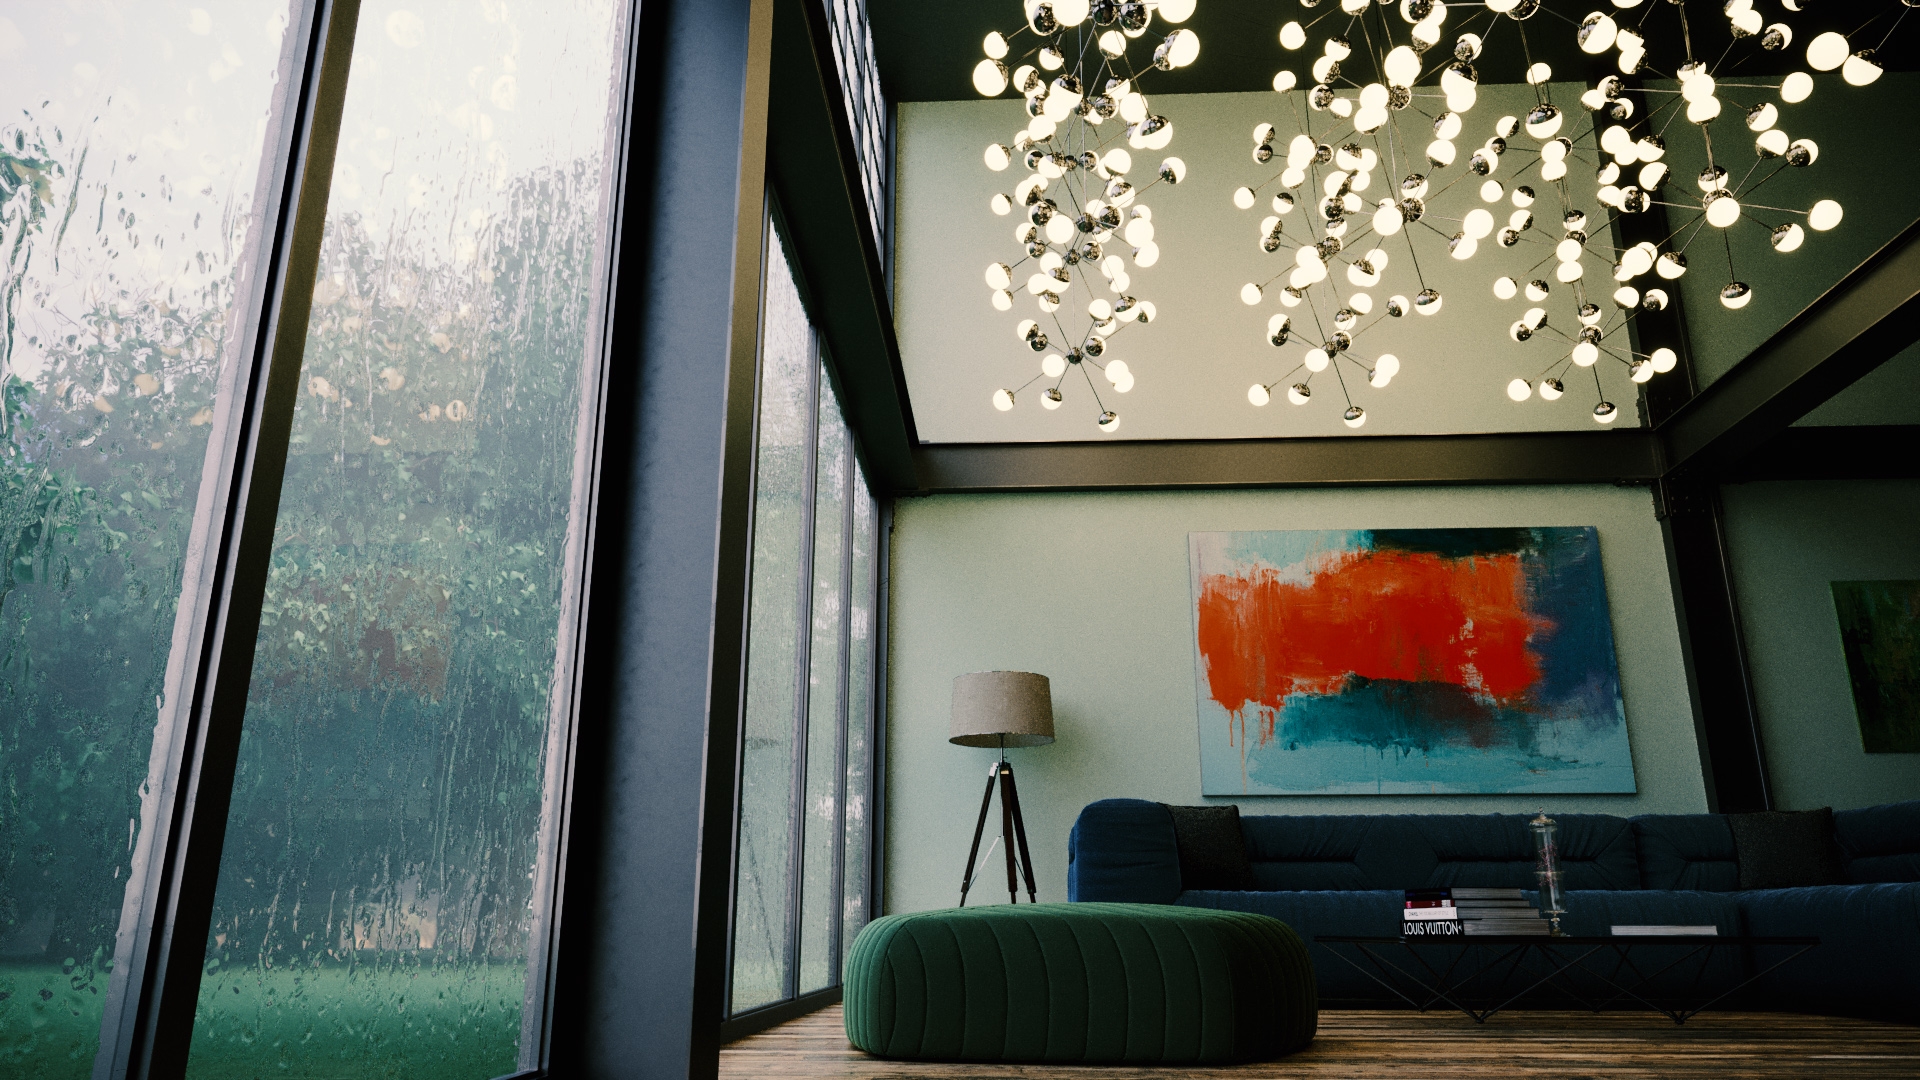
Exterior Sky and volumetric RnD for a current project. Been relearning how to properly use HDRIs and volumetrics in Corona renderer with help from www.thecommonpoint.com tutorials. Using HDRIs from www.pgskies.com. Fully into R25 now - I love the new layout.
-
So when you are stretching the whole stool left and right or front and back - are the sizes of the legs staying the same diameter? i.e. when you pull sideways - does the leg go from square to rectangle, or is this parametric constrained where the leg size isn't changing? Make sense?
-
I'm saying Sketchup.....
-

Houdini Direct Modeling - Pilot Fork | Feedback would be appreciated :)
EAlexander replied to a topic in Discussions
Nice! I agree with Cerbera's notes. I think you can kill the webcam while modeling. One thing that people also ways ask me for in my tutorials is to have keystrokes appear on screen. I used to use a little Mac app called Mousepose for this, but now that I'm mostly windows, I haven't looked for an app yet, but I'm sure there are tons of options. Can be helpful to see shortcuts as you use them. Looking forward to the series! e. -
Amazing dude - so fresh and so clean! Nice work by Kane too on the renders.
-
Holy hell Dave - that is a lot of speculation there. Are you aware that Vectorworks, Nemetschek's flagship product, does not have the subscription model that Cinema 4d does?
-
Lots of good advice in here already. I also try to think about what is happening in the house behind the camera? What does this kitchen butt up against - a living room with lots of windows? A small hallway? While your big window is the motivational driver for the lighting (and I really agree with Everfresh here on the intensity and overall darkness/contrast) - there would be light coming at it from the camera side too. That might be another window we can't see, overhead lighting or lamps, or even just bounce off a near by wall. So think about that a bit to balance it out. Don't be afraid to look at other renders or photos to try and emulate lighting - see attached. Keep going! This is how we learn.
-
That virus cell doesn't stand a chance against a tank 🙂 Looking cool in here all around!
-
I should have been clearer - the problem I'm having is with the RS Render Viewer hanging up. Render to Picture viewer works fine for final renders, but any work I do with the render viewer just borks and I have to restart the whole application. Seems to work fine in R23, so this is specific to R25 as far as I can tell. I submitted a ticket to tech support this morning 🙂
-
Volumetric stage light RnD with Redshift and R25. Getting lots of Redshift hangs and need to force quit Cinema to get it back...like anytime I make a change in the scene. I updated gpu drivers, but no help. Still troubleshooting.
-
Sketchbook quadsdamage Sketchbook Vol 01 - Beginner Journey
EAlexander replied to a topic in Sketchbooks
Just throwing this out there: Corona and Arnold are Cpu based renderers that are amazing and run well on macs. Corona is my favorite. These come with a cost, of course, but just know that being on Mac doesn't take you out of the conversation for 3rd party renderers. -
Sketchbook quadsdamage Sketchbook Vol 01 - Beginner Journey
EAlexander replied to a topic in Sketchbooks
Great start and so cool to hear about your Intentions along the way. Keep going, just keep making as much stuff as you can. The process of making things is how you learn, even if the end product is not great (this happens to all of us). Try some material and lighting studies too - there are millions of free models online you can use for practice if you want to work with more complex geometry for this. Keep going! -
I drive a Subaru 😭 and the model is from Turbosquid. Thank you 🙏
-
Well, I'm back on my shit. Been buried for the last few months, but testing out Redshift 3.0.56 with Cinema 4d R25. Getting a lot of hangs and force quit errors. Gonna try to update video drivers and see if that helps. Still using 23 for client work.
-
It's true Dave - it was a cheap shot and I apologize.
-
Certainly not trying to be dismissive of anyones thoughts or feelings. I too have my whole career and living wrapped up in Cinema, as well as Vectorworks - made by the same company and releasing new versions of both softwares in the same week this year. I am passionate about the future of Cinema4d and sure, there are things I'd like to change and things I'd like to see different. Am I thrilled about the Maxon App - not really. Do I like the concept of subscriptions - not really. I give constructive feedback on the user experience when I can, I submit problematic files, and have dialogue with tech support. But I'm not speculating on the inner workings of the company or their intensions based on remarks from a company guy, trying to talk to the community, over the internet. Be pissed and speak your mind - I'm all for it: Just don't do it with tin foil on your head.
-
Dave - please, take a deep breath. It's going to be okay, dude. I don't want to speak for Rick, but I believe he is just saying because of the pandemic, it's been harder to meet face to face with end users at shows and events. Zoom and message boards aren't the same as personal interactions - especially when you're dealing with artists and designers. No deep conspiracies. It's just software. Every time a new release comes out you go bananas on here. I worry for your health. Of course, everyone is entitled to an option - I'm not trying to change your mind. I just respectfully ask you to take a breath and focus on what the software is designed to do - create.
-
D'oh!
-
Very nice!
-
Pika Pika!
-
Looking nice in here!
-
WOW! Looks so cool - nice model too. Can't wait to see lightning flying off of it 🙂
-
Great stuff! Really get a sense of speed from it. Nice work.
-
Explaining my career to my family.