

EAlexander
-
Posts
1,002 -
Joined
-
Last visited
-
Days Won
22
Content Type
Profiles
Blogs
Forums
Gallery
Pipeline Tools
3D Wiki
Plugin List
Store
Downloads
Everything posted by EAlexander
-
-
-
Been a while. Hello.
-

Cinema 4D Where to get free interior scenes
EAlexander replied to AlexisB's topic in Miscellaneous - Do Not Post Here
Alexis - I just ran across this: https://www.cgtrader.com/vizforyou There are a few scenes in there that are ready to go for Octane. I haven't worked with these, so I can't speak to the quality or how well/poorly they are organized, but it reminded me of this thread. Hope that helps some. e. -
Cinema 4D Where to get free interior scenes
EAlexander replied to AlexisB's topic in Miscellaneous - Do Not Post Here
Most come default with Cinema textures or VRAY. I use Corona, so I have to convert - I would imagine you would have to retexture for Octane for most scenes. 99% of all models I purchase have to be retextured. -
Cinema 4D Where to get free interior scenes
EAlexander replied to AlexisB's topic in Miscellaneous - Do Not Post Here
I think the catch here is "free". Not a lot of quality free full blown interiors that are also licensed to use for marketing/promotional materials. Also - many of the free resources are made by people who don't have any background in architectural design or real world scale parameters. It depends on how tight your camera lensing is - for close ups of products on a table - many times just a plane with a room image mapped to it in the background (assuming you are using depth of field) can work. Or make a wall and floor with a few pieces of furniture for a tight vignette or corner shot. For full interiors or things you need to do wider shots of (larger products) - Take a look at the Evermotion series for sale on Turbosquid. I've bought full blown interiors of office, classrooms, etc there for use with client products. Be sure to read and understand the usage rights. I take the cost of these models into account when working up a proposal for a client. -
So - let me ask a different question - I got this far (see attachment) which is a good base. Now, what I want to do is blow this Sweep.1 object into individual sweeps/splines, so I can manipulate the tops and bottoms of each individual strand. Is there a way to separate all of this but keep it parametric splines? Does this make sense? I know I could just set it up from the get go with 15 different sweeps, but I'm trying to be more efficient. Thanks!
-
I've had good luck with tracers and sweep before - i"ll give it a try. Never used MoSplines. Time to do some reading. Thanks - and thanks Jay for putting some brain space towards this! e.
-
Thanks - I looked this over but I think it's too realistic tree like. I'm really going for a sculpture of PVC piping with constant radius the whole length. I know I can make this one strand at a time, I guess I was hoping there would be a easier way to mass produce a twist of varying diameter pipes, and then split them off towards the top. I appreciate the thought though - that old CS stuff is great and I used it a lot in the old days.
-
Hi everyone, I have a project where I need to make some stylized trees and at first I thought it would be really simple with a sweep nurb and a helix, but I can't seem to get the right look and feel. See the attached images. I need to make three unique trees in the style of Tree_02 (just the trunk and branches - no "leaves" but with the trunk acting like the TREE_01 image - variation on a helix. I need the top branches to branch out in different directions. The trees will eventually attach to other pieces of scenery that are 12x12 foot boxes in the air, so I need to be able to have each branch a separate spline that I can manipulate. Eventually, this will turn into a job with a lot more trees, so I'm in R&D mode trying to fine the quickest, easiest way to do this. My experiments with the helix have worked okay, but then I have a really vertical trunk and I need to it slope and meander more like the Tree02 research. I'm thinking lots of helix sweeps and then a spline wrap to get the overall shape, but I am open to other thoughts and approaches. I imagine this is a great project for x-particles, but I don't have it and the turnaround it too quick for me to get up to speed on this. Also - these trees will change a few times before we get to final. Any thoughts appreciated. Thanks in advance!
-
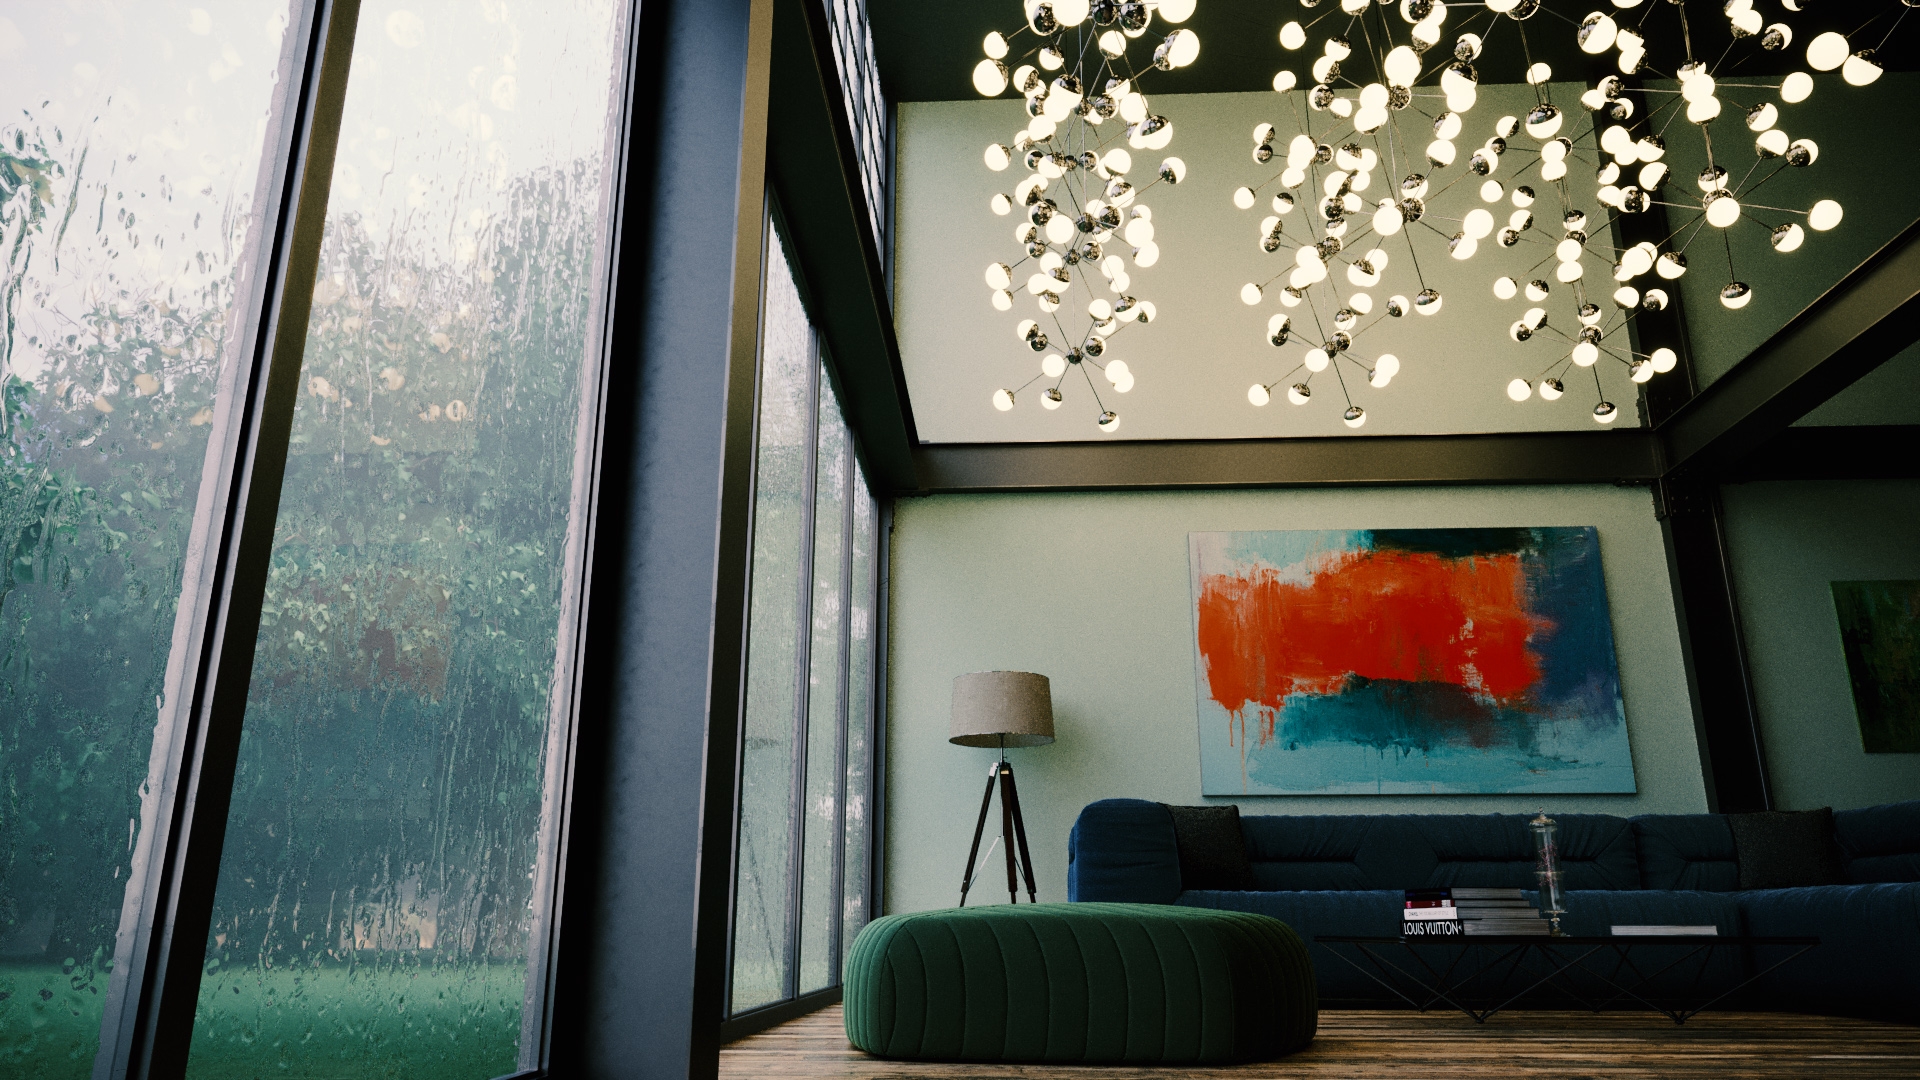
Hi Phil, I think you're in a good starting place here. The thing that stands out to me a bit is I'm not sure where to focus. I feel like the composition needs some work - my eye isn't sure where to go. Right now, it's drawn to the white wall between the paint Graphic and the glass wall (there seems to be a ies light hitting there (above the plant) without a motivating light fixture. I can see the repeating pattern of the wood in your desk front - you can easily clean that up real quick in Photoshop with the healing brush. I'd opt for carpet to warm it up a bit, but if you're going with polished concrete, I think you should make a it a bit more reflective to try and give it a bit more depth. Keep going - light/white interiors are really hard! Great start. e.
-
I admit to being really shallow and saying I would like this a lot more if that guy didn't look so much like Kenny G....
-
Some work I did early this year for the current Spice Girls world tour. Just massing studies.
-
One more with the deer. Moving on....
-
-
05.25 Terrain scan provided by 3dhdscan.
-
This is great and the animation timing is aces.
-
Thank you! 05.21
-
1. Select the master (reference) object and all the instances. 2. Hit ALT + G to Group them (nothing should move when you do this) and now they should all be in a group call NULL. Rename to taste. 3. Select all the instances and make sure they are Instances, not RENDER instances. 4. Hit C to make editable (yes, you can do this to all of them in one go). 5. Now you select all the converted objects (even if they are smaller sub groups - just select the parent, you don't need to drill down and select each sub (child) object) and: 5a. Put them into one CONNECT object and then make the Connect object editable - this will just flatten everything into one mesh - you'll probably have to recenter your axis 5b. With Subgroups still selected - hold ALT and then add a CONNECT object - this will put each sub group into it's own connect object - then hit C to make editable and each subgroup will flatten into its own mesh - again you can do all this in one go on multiple objects and folders. Make sense? One snag can be that making a connect object editable can sometimes add a PHONG tag or change the phong settings - so if you are getting shading errors on your mesh, check out the phong angle. e.
-
Quoted for Agreement. I'm also a big fan of ExtremeTextures.com. I would buy the Friendly shade stuff if I needed it for a specific client job and could bill it back to that. Poliigon gets me about 85% there on most jobs. Their quality isn't up to this standard, but speed and convenience (load all channels via the plug in) is killer.
-
Here is the directors Vimeo: https://vimeo.com/tobiasgremmler The first project in there he says is Cinema 4D in the comments, but I don't know about the Bjork video. As Hroje says - could be anything.
-
One more with the Datsun model.
-
Found a great Model of a 1972 Datsun 240Z GT by Karol Miklas via Sketchfab. Rendered with Corona.
-
Amazing all around!
-
More real fake lighting instruments.